We’ve put together a detailed guide for beginner snowboarders that teaches you how to prepare for the snow, basic skills you need to get started, and essential clothing items you need for travelling to the snowy mountains.
Below is a list of items that every beginner snowboarder should pack on their trek to the mountain. While it may look extensive, it should bring you comfort to know that (most) of these items can be hired at the Lake Mountain Rentals department, to make it easier for first-timers.
For a more in-depth guide on what to bring your first time snowboarding, check out our blog, Clothing Essentials For Your First Trip To The Snow.
When it comes to choosing a snowboard that’s right for you, we first need to determine a fundamental aspect of snowboarding: are you goofy or regular? You may have heard this terminology being tossed around before, likely due to the fact that skateboarders, snowboarders, surfers and wakeboarders alike use these terms to determine their riding stance.
A regular riding style means you’ll be leading with your left leg as you navigate your way down the hill. Goofy (as you may have guessed) is someone that rides with their right leg leading down the hill.
There is no “correct” stance, it simply comes down to what feels most comfortable for you. Typically speaking, people often use past experiences (from other related board sports) to determine their riding style.
If you’re unsure of your riding style, check out our simple tricks to help determine whether you’re regular or goofy:
Now that you’re determined your riding style, you’re ready to choose your snowboard! As a beginner, the best place to start is on a freestyle or all-mountain snowboard. These types of boards will allow you to ride on almost any terrain without boxing you into one particular riding style.
All Mountain and Freestyle boards usually have a centred stance, which makes it easier to balance in the beginning. These boards also usually have a “camber” base profile which makes it easier to initiate and control your turns, both of which are essential as you’re learning to snowboard.
Once you’ve found your feet as a beginner and ready for a more advanced board, there are many factors that come into play, such as flex (how playful or stable a snowboard is), length, riding ability, binding compatibility, board types and more. There isn’t a “one size fits all” when it comes to choosing the best type of snowboard, however for beginners an all terrain board is usually the best place to start. For a more personalised recommendation we advise speaking to an industry professional.
Choosing the right pair of snowboard boots can be the difference between a successful first trip to the snow and a miserable one. The perfect fit for a pair of snowboard boots should be a tight and stabilising fit over the top of your foot and around your upper ankle, keeping you secure in the boot. When flexing and leaning forward you should feel the boot restrict slightly, yet still, allow for a comfortable range of motion without too much pressure in any one particular area.
It’s important that your toes have enough breathing room and aren’t left cramped against the roof of the shoe, with your heel placed firmly in the back of the boot. To test whether your boots fit properly, crouch into your snowboard ready-stance. From here you should feel your toes pull back ever so slightly. If your toes are hitting the end of the boot then this is a good sign that you need to go up a size. Lace-up your boots firmly and go for a test walk around the shop to determine whether you’re comfortable. It’s important to keep in mind that your boots will stretch about half a size once you’ve ridden in them a few times.
Choosing the right socks for snowboarding isn’t rocket science, however, there are a few important tips we’d like to mention.
Riding around in ankle socks all day will be uncomfortable and you’ll likely lose feeling in your toes pretty quickly. Longer, thicker socks that exceed the length of your boots will help to prevent blisters as well as the top of the boot from rubbing against your shin/calf, which after a long day can be extremely painful. To get a better feel for your snowboard boots takes your socks along with you when going for a fitting.
People often ask “is a snowboard helmet really necessary?” The answer to this question is yes and always will be, yes. Especially for a beginner.
The most important factor when choosing a helmet is a pretty obvious one: does it fit correctly? The last thing you want is for the helmet to loosely sit atop your head, as it won’t provide adequate protection if you were to crash. The helmet should fit fairly low on your forehead, with your goggles meeting the peak of the helmet (this will avoid exposing your forehead and leaving a dorky gap in between).
When trying on a range of helmets be sure to check the fit. You don’t want it to put too much pressure on your head or wobble from side to side. Be sure to ask for help from one of the retailers before purchasing, as it’s their job to ensure everything fits correctly before you hand over your credit card.
Choosing the right jacket and pants for snowboarding comes down to a range of different variables. Often the climate is one of the key players in determining what kind of outer layers you’ll need to take with you. Us Melbournians understand that while our winters can be icy, it’s nothing compared to the negative degree winters in Canada.
When it comes to choosing your jacket the two main factors to look out for are waterproofing and breathability. Wearing non-waterproof gear on the mountain isn’t exactly ideal (for obvious reasons). No matter the weather, you’re likely to get wet and without the proper protection, cold! However, if you don’t find a jacket that offers breathability it can cause you to sweat and overheat.
Personal preference also plays a role in choosing your snow gear: Do you like a snug fit, or would you prefer something a little more baggy and forgiving?
Most snowboarders opt for the “baggy look” as it suits the style of a snowboarder, as well as offering more flexibility to move.
There are many different styles and fits to choose from, so we suggest you try on as many as you can before making a purchase! And remember, it can’t hurt to have more layers, just in case.
Yes, the most important layers (to most) are your base and mid-layers. Why? These layers are your safeguard against harsh weather. If your pants and or jacket get too wet then you’re going to be relying on these undergarments to keep you dry.
A good quality base layer is important, so we recommend you splurge a little on this layer. You’ll thank us later.
The mid-layer is the main insulating layer, essentially helping to keep the warmth trapped close to your body. A fleece, thin down jacket or merino wool jumper are all popular choices when it comes to the mid-layer. If you’re travelling to particularly cold climates then we suggest packing a down jacket, most of which are fairly compatible making it easy for you to carry an extra layer with you. As we were saying earlier about choosing the right snow jacket, be sure that your mid-layer is also water resistant – it’s better to be safe than sorry.
Mid-Layers are great as they allow you to easily add or subtract layers from your body depending on the weather.
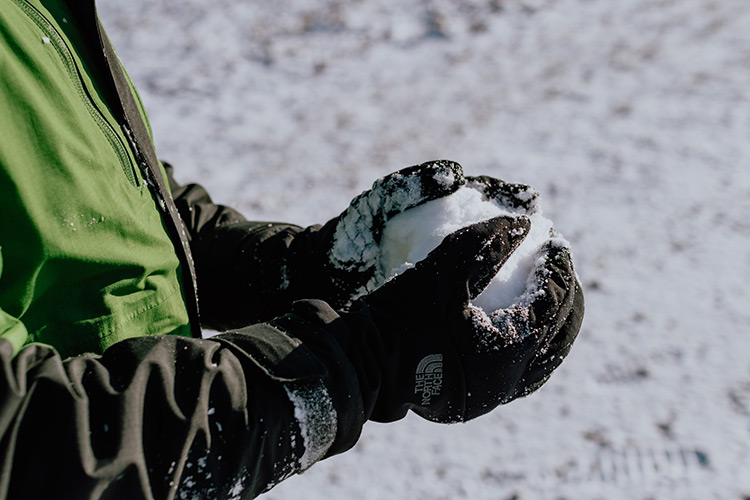
Like your snowboard boots, choosing the right pair of snow gloves can make or break your experience. Most gloves/mittens are made from synthetic nylon, combined with a waterproof barrier that also offers breathability, as well as an insulating layer to keep your hands toasty warm.
Snow Gloves offer more mobility as they have individual finger holes that make it easier to grip onto things, such as ski poles, tightening your boots or undoing your jacket.
Mittens on the other hand are generally warmer as your fingers are bunched together rather than separated. Beginners often start with mittens, as it’s easier to enjoy the day if your hands stay warm and dry.
It goes without saying that the right ‘fit’ is everything when it comes to Goggles. Much like choosing a helmet, there’s not much point in buying a pair of goggles that are too big or too small as it will only lead to problems later. Like anything outdoors, there will be variable weather conditions, which is why most snow goers opt for interchangeable lenses.
The visible light transmission (how much light the lens let in), the lens colour, the lens shape and fit are all important factors that come into play when choosing the right snow goggles. Be
sure to ask for assistance from an industry professional when choosing the right lens for you.
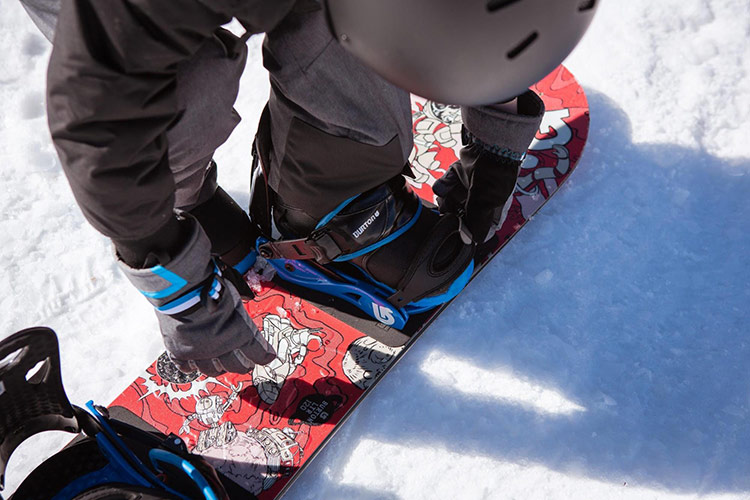
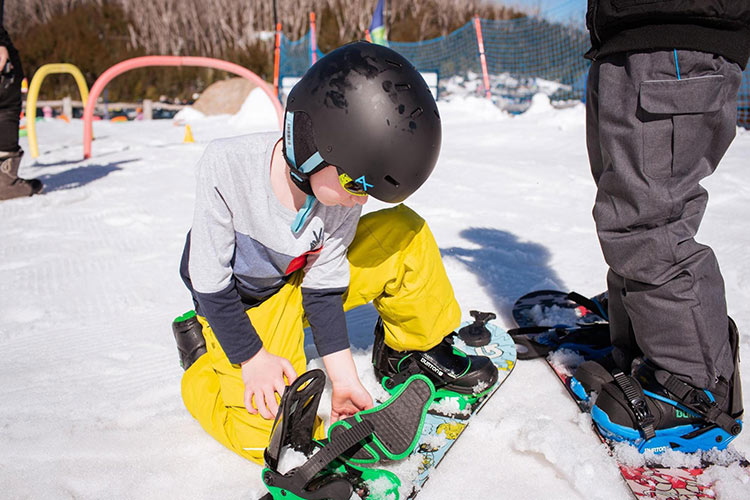
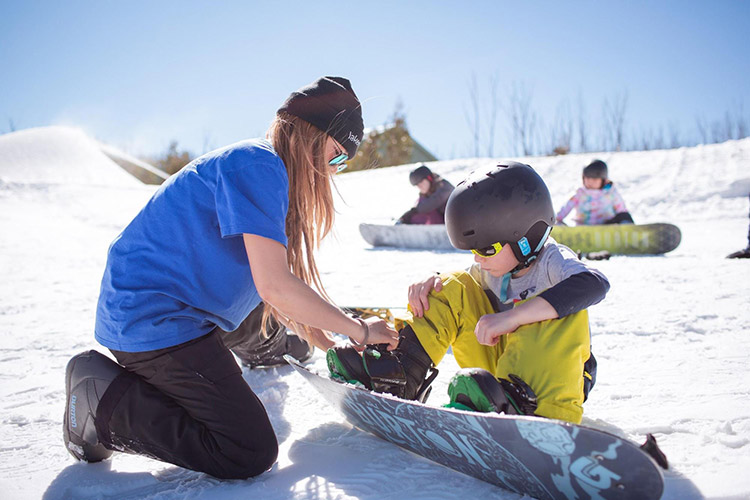
Beginners often find it easiest to sit down when strapping in, as it can be difficult to balance properly in the beginning. However, this method requires more energy when pulling yourself up into a seated position.
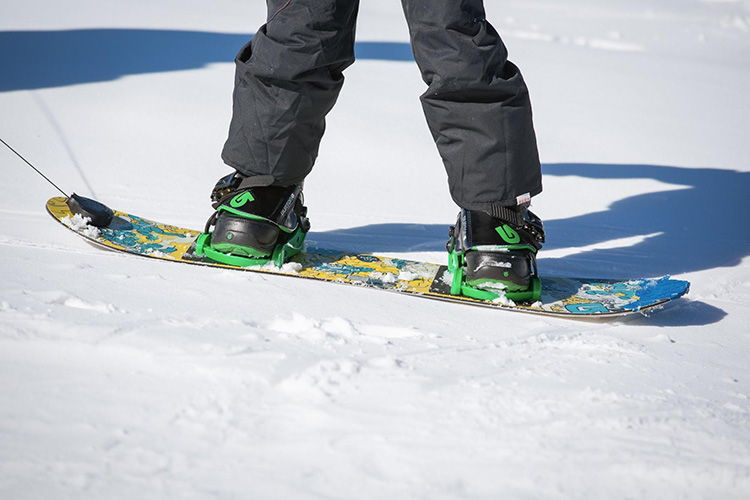
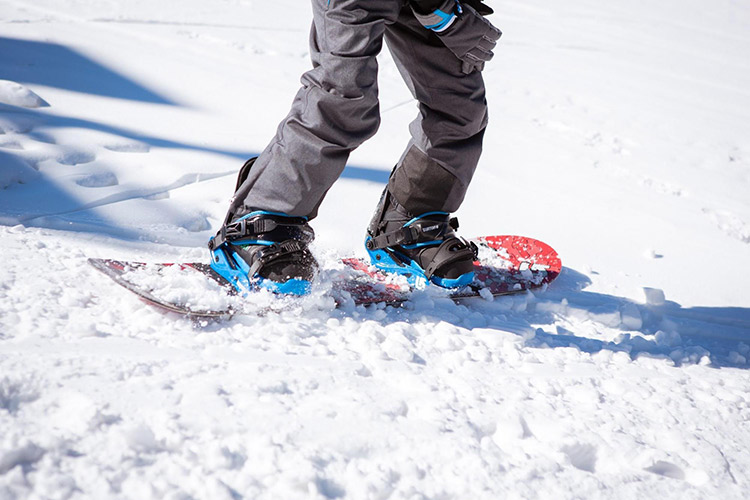
Unless you’re willing to strap in and out of your board every time you want to make your way across a flat surface, we suggest learning the “skating technique.” Essentially this means your front foot is strapped into the board, while your back food pushes you forward from behind, creating a gliding effect.
This technique is used to get across most flat surfaces and is a helpful skill to know that can often be mastered fairly easily in the beginning.
Before you can master going downhill you need to learn control, and more importantly, you need to learn to stop.
A common method for learning to stop is to lean back so that more pressure is placed on the back of the board, pushing your “heel side” into the snow with your board perpendicular across the hill. Slowly, you’ll start to feel the board ebb down the hill. As this happens, keep your knees bent, back straight, hands out, head up and your weight balanced. As you apply more pressure onto your heels, you’ll feel your toes steadily lift off the ground. This action will make you stop.
Once you’ve mastered the art of control, it’s time to focus on your turns. To begin, hold your head up high and direct your gaze in the direction you want to go, letting your shoulders and hips naturally follow.
While it won’t happen from the get-go, creating a continuous flow between your movements will aid your balance and turning ability. If you’re learning to turn toe side, start off by pressing pressure down on your front foot, as your board starts to point down the hill this is where your shoulders, gaze, and hips come into play. Keep rotating your body until your front hand is pointing to the other side of the slope, bringing you to your toe side edge.
A heel side turn is often easiest to master when you’re just starting out. When you’re ready, shift the weight onto your front foot, as you feel your board start to slide down the hill shift your body weight backward and push your heels into the snow. This will cause the board to turn and the front of your body face down the hill.
Once you’ve mastered the art of turning, snowboarding becomes a lot easier to navigate and is often a more relaxing experience.
Important note: Always remember to be cautious of your surroundings! Causing a collision can be damaging for your confidence, not to mention the safety of yourself and others.
Located just 2 hours from Melbourne CBD, Lake Mountain is the perfect little mountain to start out on (plus it means kids won’t have to sit patiently for too long before hitting the slopes).
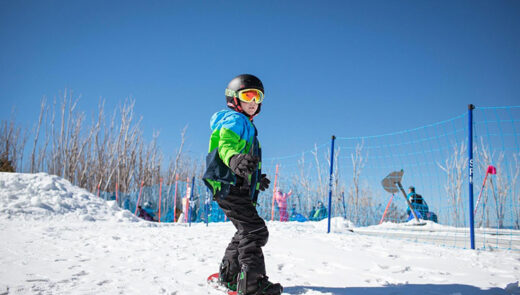
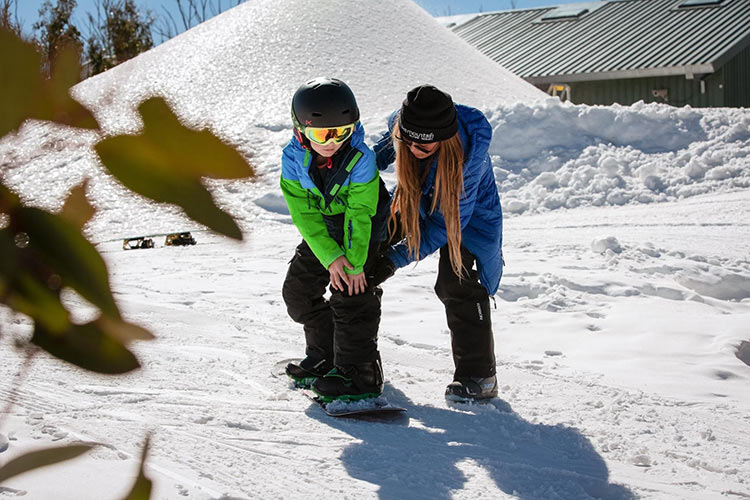
Children’s snowboarding lessons at Lake Mountain are run by the highly regarded Burton Riglet and Burton LTR program, a team of highly credible instructors that ensure your kids receive all the support they need when starting out. The retail shop at Lake Mountain caters for adults and kids of all sizes, making hiring out your own gear easy and affordable.
Lake Mountain offers Children’s snowboarding lessons to get your kid started on their snow journey.